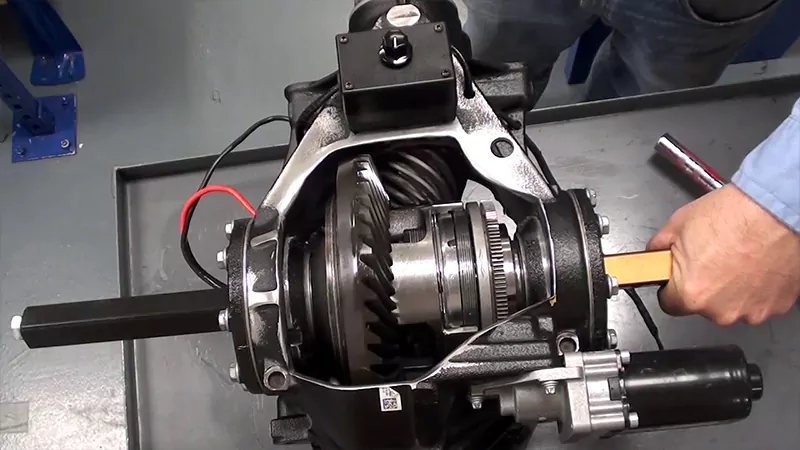
Complete Guide to Adjusting Ring and Pinion Gears
Adjusting ring and pinion gears, also known as setting up the differential, is a critical process in maintaining the optimal performance and longevity of a vehicle’s drivetrain. This comprehensive guide will provide you with detailed, step-by-step instructions on how to properly adjust your ring and pinion gears, assuming you’re a beginner.

Tools and Materials Needed
- Dial indicator
- Bearing puller
- Spanners or wrenches
- Gear marking compound
- Torque wrench
- Press for bearings
- Differential setup bearings
- Shims for pinion depth adjustment
- Rags or towels for cleaning
Steps to Adjust Ring and Pinion Gears
- Safety First
Using a suitable tool, remove the bolts securing the differential cover. Carefully pry off the cover and allow the gear oil to drain into a suitable container.
- Remove the Differential Cover
Visually inspect the ring and pinion gears for any signs of wear, damage, or abnormal wear patterns. Replace any worn or damaged parts.
- Inspect the Gears
If necessary, remove the axles from the differential housing to access the differential assembly.
- Remove the Axles
Using a suitable socket and breaker bar, loosen and remove the pinion nut from the pinion shaft. Use a bearing puller to remove the pinion gear from the housing.
- Remove the Pinion Nut
Install the differential setup bearings onto the ring gear and the pinion gear. These setup bearings are temporary and will be replaced with final bearings later.
- Install the Differential Setup Bearings
Carefully mount the ring gear onto the differential carrier. Ensure the gear is aligned properly and torque the bolts to the manufacturer’s specifications.
- Mount the Ring Gear
Apply a liberal amount of gear marking compound to the ring gear teeth. Rotate the ring gear several times to ensure even coverage.
- Apply Gear Marking Compound
Carefully install the pinion gear back into the housing, ensuring it meshes properly with the ring gear. Install the pinion nut and tighten it to the manufacturer’s specifications.
- Install the Pinion Gear
Using a dial indicator, check the gear pattern on the ring gear. The pattern should be centered and uniform across the gear teeth. Adjust the pinion depth by adding or removing shims as necessary.
- Check the Gear Pattern
Check the backlash between the ring and pinion gears. Adjust the position of the ring gear to achieve the correct backlash, typically between 0.005-0.008 inches.
- Adjust the Backlash
Reapply the gear marking compound and recheck the gear pattern. Make any necessary adjustments to achieve the correct pattern and backlash.
- Check the Gear Pattern Again
Once the gear pattern and backlash are correct, remove the setup bearings and install the final bearings onto the ring and pinion gears.
- Install Final Bearings
Reassemble the differential assembly, including the axles, driveshaft, and cover plate. Torque all bolts to the manufacturer’s specifications.
- Reassemble the Differential
Fill the differential with the manufacturer-recommended gear oil to the proper level.
- Fill with Gear Oil
Take the vehicle for a test drive to ensure that the gears are properly adjusted and that there are no unusual noises or vibrations.
- Test Drive
After the test drive, check for any leaks or abnormal noises. Recheck the gear pattern and backlash if necessary.
Adjusting ring and pinion gears is a precise process that requires patience and attention to detail. By following these steps, you can ensure that your vehicle’s drivetrain operates smoothly and efficiently.
If you have purchased our ring and pinion gear products and encounter any issues during installation, please feel free to contact us. Our engineers are ready to provide you with prompt assistance.


